Easy as pie, Banoffee Pie
The life of a banana must be so interesting. It stays cocooned in its protective layers, oblivious to the outside world. Then one fine day, the layers are peeled away and the sunlight shines through a plethora of delicious opportunities. It gets to form the periphery for vibrant banana splits, dunk and dive in splendid sundaes and lay the foundation for decadent desserts. A life that sees the creation and completion of many exquisite cakes and pies.
Now that my unnecessarily dramatic opening paragraph is done with, let me take you through the recipe that forms the base of this post. Let’s talk BANOFFEE PIE!!
Banoffee Pie

I have three words for this recipe – Easy, Fool-worthy and Decadent. By easy I mean that it’s ridiculously easy to make. By fool-worthy, I mean that you can fool anyone to believe that you spent the whole evening in the kitchen slogging your rear off to cook it up. And finally, by decadent, I mean that it’s a splendid dessert that works even for banana-haters like myself. If these three criteria fit your bill, then do read on.
The recipe I follow is from my friend Debbie’s blog at Coffee, Cakes and Running. My recipe remains the same, except for tiny bits of changes here and there.
Things you need:
Condensed milk – 1 tin (395ml)
Pressure cooker OR a saucepan
Digestive biscuit/ Britannia arrowroot biscuit – 150g
Butter – 3 full tbsp., unsalted
Maple syrup – 1 tbsp
Banana – 2 or 3 (ripe, big)
Whipped cream – 250ml
Chocolate – shavings
How to go about it:
- Making your Dulce de leche/Toffee in a pressure cooker
Remove the label from the condensed milk tin and place it sideways inside the pressure cooker. Do not keep it standing up as it will bounce when the pressure builds up. Fill the cooker with water – 1 or 2 inches above the can. Lock the cooker, put the flame on high and once the first whistle blows, bring down the flame to medium-low. Let it whistle for about 40 minutes in all. Turn the heat off. Once the cooker has cooled down on its own, take the tin out. Ensure it is cooled too before opening. Your condensed milk has now transformed into dulce de leche, which is in my opinion, the next best thing to melted chocolate! This will form the toffee layer of your banoffee pie.
Making your Dulce de leche/Toffee in a saucepan

If you don’t have a pressure cooker, you can use a saucepan, though it will be a much longer process of 3 hours. Place the tin standing steady in a saucepan and fill it up with water to cover the tin completely. Keep the flame on medium, cover it with a lid and let it boil for 3 hours. Keep adding water (when necessary) to make sure the tin is covered throughout. Switch the flame off, wait for things to cool off. Dulce de leche is ready to be swooned over.
- Making your pie base
Crush the biscuits in a processor. Add the melted butter and maple syrup to the biscuit crumbs and mix well. Press it onto the base of your pie dish. Chill in the refrigerator for couple of hours.
Making your Dulce de leche/Toffee in a saucepan

3. Scoop out the dulce de leche from the condensed milk tin. Spread this on top of the chilled biscuit base.
4. Cut the bananas into thin rounds and layer them on top of the dulce de leche
5. Spread your whipped cream on top the banana
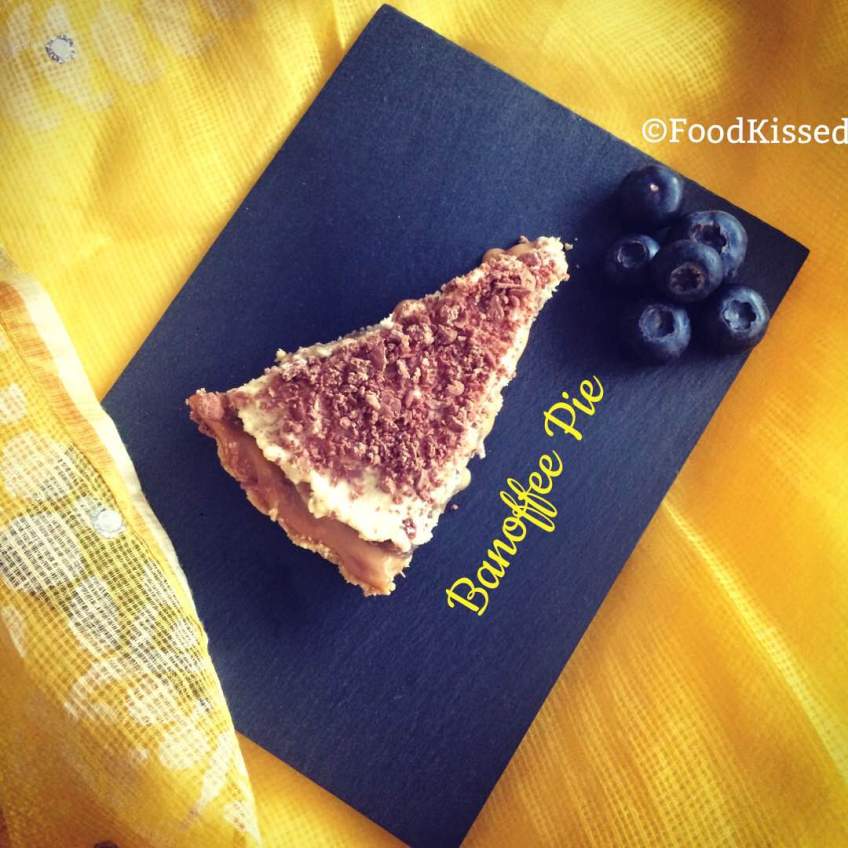
6. Sprinkle some shaved chocolate or crunch up some Flakes over the cream
I don’t want to boast, but once you take the pie off the dish, this is going to be one mean looking dessert to present. A slice would have the crunch of the biscuits, the lusciousness of the toffee, the masqueraded goodness of the banana and the calmness of the whipped cream. Like I said, one really mean, sensuous slice.
More from Neenu Kamarudin
Related posts
- prev
- next
Comments are closed